Smart Carrier | Setting up Inbound Calls: How to Add a Routing Container

In this tutorial, we will discuss how to add a routing container to your Smart Carrier account. A routing container establishes an inbound call route to the IP address, or IP addresses to your system in order to receive inbound calls. For example, when a customer dials a phone number provided to you by Smart Carrier, also referred to as a DID, the routing container tells Smart Carrier where the call should be sent to. Please note, if you do not have the IP address of your system on hand, please contact your system administrator.
We will now provide you with an example.
Start by logging in to app.smartcarrier.io and navigate to inbound call settings, as shown. Under the heading ‘rejecting inbound calls’ you have the option to reject inbound calls based on the amount of inbound call attempts in a given timeframe.
For example, if you are receiving unwanted inbound calls to your phone system, in many cases spam or malicious phone calls; here, you have the ability to reject the inbound phone calls. This can save you and your telephone agents valuable time by blocking unwanted calls to your phone system.
If you wish to reject any inbound calls as mentioned, click the yes button via the Based on Inbound Calls Per ANI option, as shown.
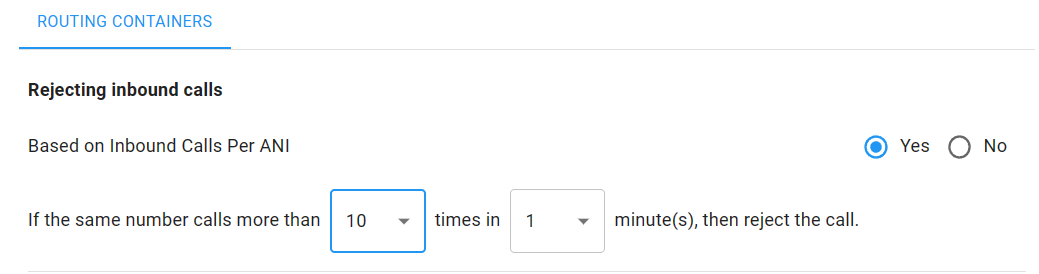
This means that any inbound calls placed to your system with a specific ANI, also referred to as a caller ID or, the caller’s phone number, will be prevented from calling your system in the timeframe you wish to define.
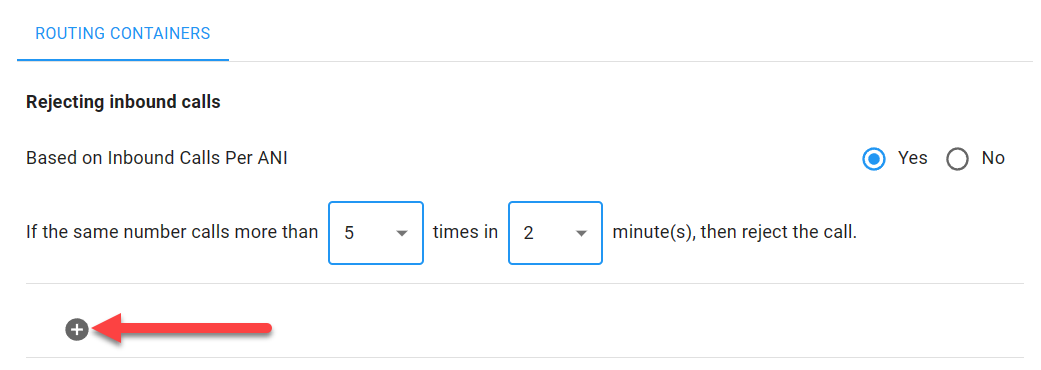
In this example, we will reject any inbound phone calls to your system if there are more than 5 calls in a 2-minute period. From the ‘if the same number calls more than’ drop-down menu, we will select ‘5.’ From the ‘times in’ drop-down menu, we will choose 2, as shown.

We have now blocked any inbound calls to your phone system if the same caller's phone number attempts to dial your phone system more than 5 times in 2 minutes.
Next, we will configure the IP address that inbound calls should be sent. Start by selecting the + icon and a window labeled ‘New Routing Container’ will appear, as shown.
Enter the container name you wish to use for the routing container. Please note, this can be any name, as it is only used to describe the specified routing container. In this example, we will call the routing container ‘Main Inbound Calls’ as shown.

In the next box labeled Port, enter the port number of your system. Please note, the port is usually 5060, and will be pre-populated by default. If you need help determining what port number to use, please contact your system administrator.
In this example, will leave the port at the default 5060, and click save, as shown.
In some cases, your system may have multiple IP addresses to send calls to for load-balancing purposes on high-volume systems. If calls need to be sent to multiple IP addresses, we simply need to repeat the previous step by clicking add, entering the IP address, in this case, 24.149.111.96, and clicking save, as shown.